
An asphalt driveway plays an important role in your home’s curb appeal and daily convenience. But in Canadian weather conditions, it constantly faces damage from sunlight, rain, oil leaks, and freeze-thaw cycles. Over time, this exposure leads to fading, surface cracking, and structural weakening.
If ignored, small issues quickly turn into expensive repairs.
That is where seal coating becomes essential. It is one of the most cost-effective ways to protect your driveway, restore its deep black finish, and extend its lifespan by several years.
This guide explains exactly how to seal coat an asphalt driveway using a simple step-by-step method that homeowners can follow safely and effectively.
What is Seal Coating?
Seal coating is the process of applying a protective liquid layer over asphalt pavement. This layer works like a shield that protects the surface from external damage.
It helps reduce impact from:
- UV rays that cause fading and dryness
- Water penetration that leads to cracks
- Oil and chemical spills that weaken asphalt
- Oxidation from long-term exposure
- General surface wear and aging
However, it is important to understand that seal coating is not a repair solution for deep structural damage. Instead, it is a preventive maintenance step that slows deterioration and keeps your driveway in better condition for longer.
When Should You Seal Coat Your Driveway?
Timing is very important for effective results.
In Canada, the best time to seal coat is late spring to early fall when temperatures are warm and stable. The surface needs dry conditions to cure properly.
Avoid applying seal coat during:
- Rainy weather
- Cold temperatures
- High humidity days
As a general rule, homeowners should seal coat their driveway every 2 to 3 years, depending on usage, traffic load, and weather exposure.
If your driveway sees heavy winter stress, especially in regions where snow clearing and road salt are common, regular maintenance becomes even more important. Homeowners can also learn how long before you can drive on a newly sealed driveway after the project is complete.
Tools and Materials You Will Need
Before starting the project, make sure you have everything ready:
- Asphalt seal coat product
- Crack filler or repair compound
- Squeegee or wide brush
- Push broom or stiff brush
- Pressure washer or garden hose
- Masking tape for edges
- Protective gloves and old clothing
Proper preparation saves time and ensures a smooth application process.
Step-by-Step Guide to Seal Coat Asphalt Driveway
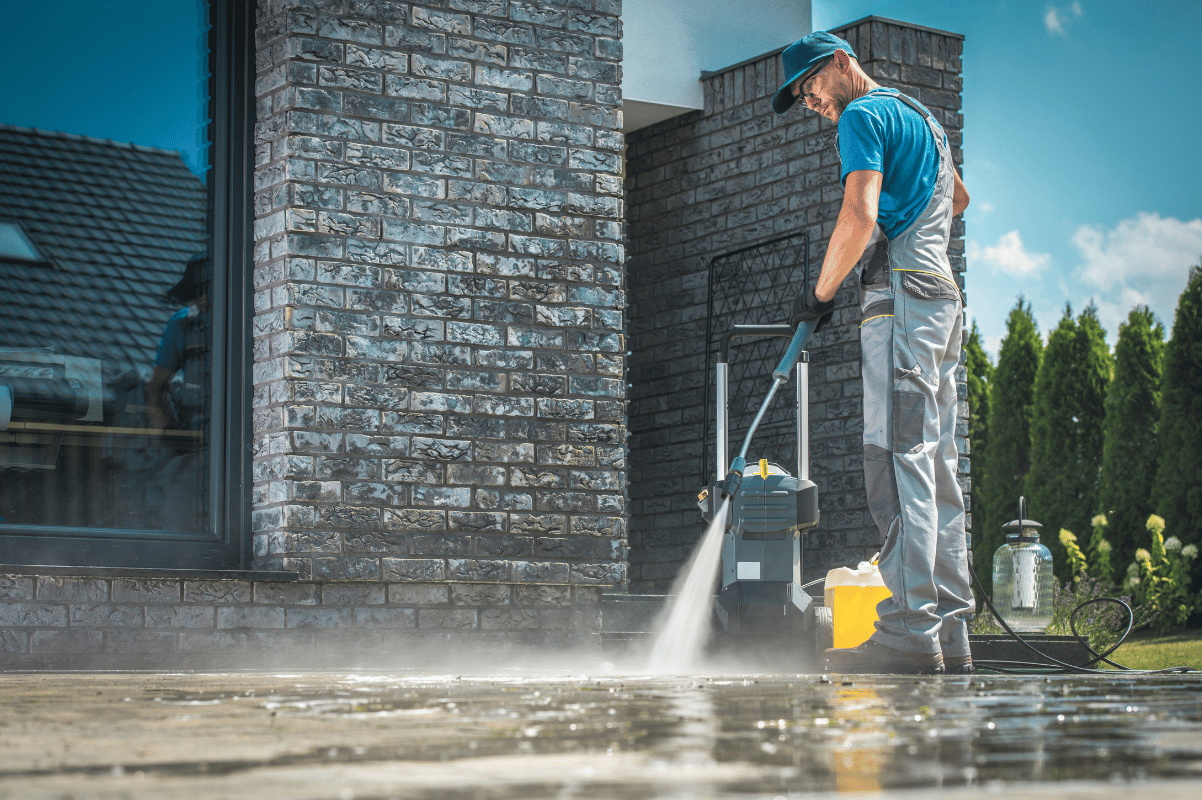
1. Clean the Surface Thoroughly
Start by cleaning the entire driveway. Remove dust, dirt, leaves, and oil stains.
A pressure washer is the best option, but a strong hose with a stiff broom can also work.
Make sure the surface is completely dry before moving to the next step. Any moisture can prevent proper bonding of the seal coat.
2. Repair Cracks and Surface Damage
Inspect your driveway carefully.
Fill all small cracks using asphalt crack filler and allow it to dry fully. For professional help with damaged asphalt surfaces, homeowners can explore residential crack filling in Kitchener before applying seal coat.
This step is critical because water entering cracks can expand during freezing temperatures and cause major damage during winter cycles.
3. Protect Edges and Surroundings
Use masking tape to protect:
- Garage edges
- Walkways
- Garden borders
- Concrete surfaces
This helps maintain clean edges and prevents accidental staining during application.
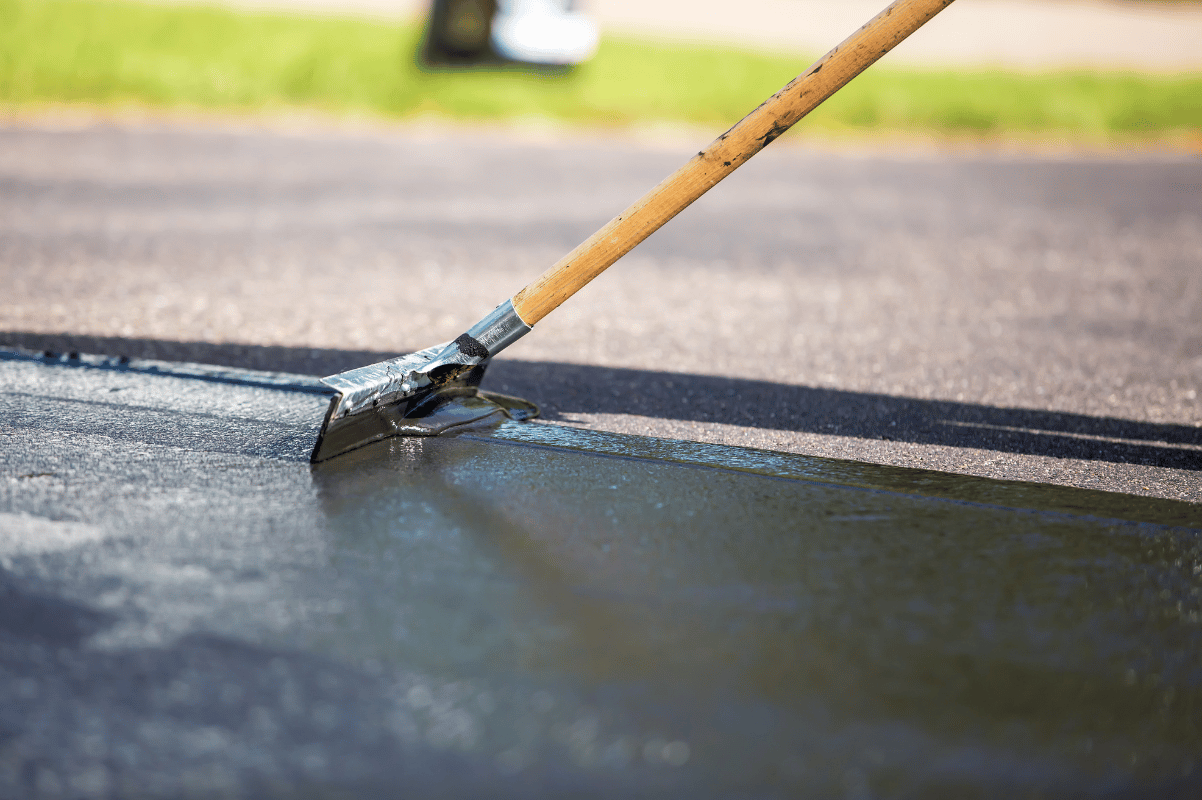
4. Apply the Seal Coat Properly
Stir the seal coat product thoroughly before use.
Pour it in small sections and spread evenly using a squeegee or brush.
Work in smooth, overlapping strokes to avoid streaks or uneven patches.
Avoid applying thick layers. A heavy coat may take longer to dry and can peel over time.
Consistency is more important than thickness.
5. Allow Proper Drying and Curing Time
Once applied, allow the surface to dry for at least 24 to 48 hours.
Do not walk or drive on it during this period.
Drying time depends on:
- Temperature
- Sunlight exposure
- Humidity levels
Rushing this step can ruin the finish and reduce durability.
Maintenance Tips for Long-Lasting Results
To extend the life of your seal coating, follow these simple maintenance practices:
- Apply seal coat only on warm, dry days
- Use thin, even layers instead of thick coatings
- Avoid parking vehicles until fully cured
- Clean oil spills immediately
- Reapply every 2 to 3 years
In colder climates, driveways face additional stress due to freeze and thaw cycles. Road salt and scraping equipment during winter can speed up surface wear.
This is especially common in areas where homeowners rely on seasonal property care during harsh winters, making protective maintenance even more important. For larger paved areas, property owners may also benefit from parking lot snow removal and landscaping in Kitchener to help manage winter wear.
Common Mistakes to Avoid
Many homeowners make simple mistakes that reduce the effectiveness of seal coating:
- Skipping crack repairs before application
- Applying seal coat on a wet surface
- Using too much product at once
- Not allowing proper curing time
- Sealing in cold weather
Avoiding these mistakes ensures a smoother finish and longer-lasting protection.
Why Seal Coating is Worth It
Seal coating is not just about making your driveway look new again. It provides long-term protection and financial savings.
Here is what it helps you achieve:
- Extends driveway lifespan
- Prevents expensive repairs
- Improves curb appeal instantly
- Protects against weather damage
- Maintains a smooth and safe surface
It is a small investment that protects one of the most used surfaces of your home. For commercial properties with paved surfaces, services like parking lot painting can also help improve safety, organization, and overall property appearance.
Seal coating your asphalt driveway is a simple but highly effective maintenance task that every homeowner should consider. With proper preparation, correct application, and regular upkeep, you can significantly extend the life of your driveway while keeping it visually appealing year-round.
If your driveway already shows deep cracks or major wear, it may be time to consult a professional for assessment before applying seal coat.
Otherwise, following this guide will help you complete the job confidently and achieve professional-quality results at home. For more help with outdoor upkeep, you can also explore general property maintenance services.
