
A winter site walk helps you spot problems while they are still easy to see and fix. Before snow hides curbs, drains and pavement damage, walk your commercial property with the people responsible for maintenance and winter service.
For Kitchener-Waterloo property managers, the goal is practical: identify trouble spots, agree on priorities and create a clear plan for keeping the site usable through winter. Bring a site map, take photographs and turn each finding into an assigned task.
Plan Your Walk Around How People Use the Property
Schedule your inspection before winter operations begin, leaving enough time for repairs. Include your maintenance lead and winter contractor, where applicable. Tenant representatives can also flag concerns that are easy to miss during a quiet daytime visit.
Follow the routes people actually take, including shortcuts between parking spaces and entrances. Consider early arrivals, evening visitors, deliveries and waste collection.
Bring:
- A current site plan or a simple printed aerial view
- Notes from previous winters, including recurring icy areas
- A phone or camera for photographs
- A checklist with space for an owner and completion date
If possible, revisit after rainfall. Standing water can reveal drainage issues that are less obvious on a dry day.
Inspect Pavement, Curbs and Drainage
Mark Damage Before Snow Covers It
Walk parking lanes, loading areas and pedestrian routes. Look for potholes, raised pavement, damaged curb edges and uneven transitions.
Record each location on the map rather than relying on a general note such as “repair front parking lot.” Photographs should show both the defect and enough surrounding detail to locate it later.
Prioritise repairs where people walk, vehicles turn or equipment must pass. Flag unresolved hazards for the winter crew before the first service visit.

Trace Where Water Goes
Check catch basins, drainage channels and downspout outlets for visible obstructions. Note puddles and water flowing across walkways.
Pay particular attention to:
- Low spots near entrances
- Downspouts discharging beside pedestrian routes
- Runoff crossing ramps or stairs
- Drainage paths that a snow pile could block
Arrange appropriate maintenance for blocked or damaged drainage features. Simply treating the same icy patch repeatedly will not resolve the water source.
Walk Every Pedestrian and Accessible Route
Start at the public sidewalk, parking area and drop-off point, then follow each route to the building.
Check stairs, ramps, handrails, entrance mats and pavement transitions. Identify narrow sections where stored snow could reduce usable space or make manoeuvring difficult.
Accessible parking spaces need attention beyond the parking stall itself. Include adjacent access aisles, curb ramps and the continuous route to the entrance in your clearing plan.
Confirm that the plan addresses:
- Main and secondary entrances
- Emergency exit discharge routes
- Outdoor stairs and landings
- Routes to waste areas and shared amenities
- Doorways where cleared snow could obstruct opening
Assign responsibility for small areas that equipment may miss, such as the strip directly beside a door or between bollards.
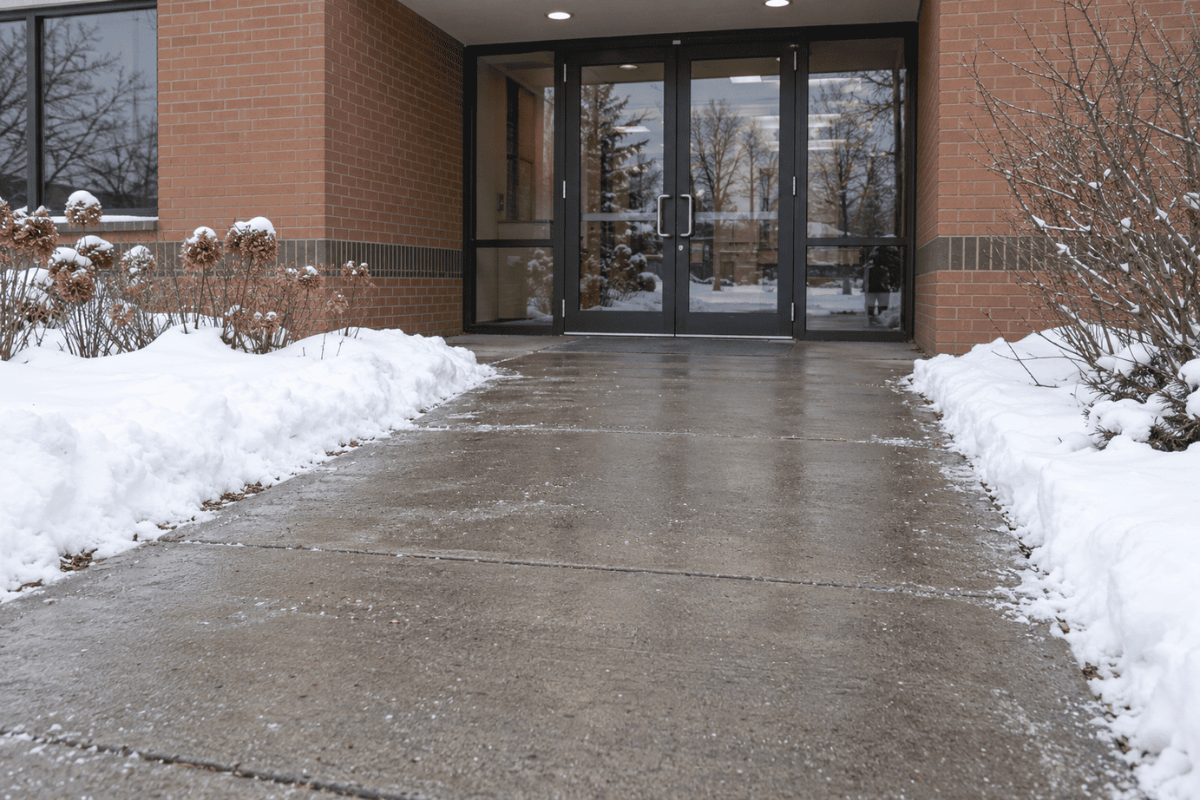
Agree on Clearing Priorities and Service Responsibilities
A site map is most useful when it explains what happens first. Identify the entrances, pedestrian routes and operating areas that need attention before staff, customers or deliveries arrive.
When planning Snow removal in Kitchener, use the walk to confirm your property’s priorities with the contractor and record them in the service plan.
Discuss these questions together:
- Which areas must be ready before opening?
- Who handles steps, ramps and narrow walkways?
- How will parked vehicles affect access?
- Who checks conditions between service visits?
- What is the process for reporting an untreated area?
- Who authorises additional work when conditions change?
Confirm how service is initiated and what the agreement includes. Do not assume that clearing, ice treatment, return visits and snow hauling are all covered by the same arrangement.
Choose Snow Storage Areas Before They Are Needed
Mark proposed snow storage locations on the site plan and review them with the equipment operator. A convenient corner may create problems if it blocks visibility, drainage or pedestrian access.
Keep proposed piles clear of entrances, exit routes, hydrants, accessible spaces, loading access and waste collection areas. Check sightlines where drivers leave the property or cross walking routes.
Think beyond the first snowfall. Ask where additional snow will go once the preferred areas fill up, and establish who will decide whether hauling is needed.
Also consider where meltwater will travel. A pile that drains across a busy walkway can create a recurring maintenance problem as temperatures change.

Identify Obstacles and Protect Property Features
Snow can conceal low fixtures and the edges of landscaped areas. Document features that operators need to see before clearing begins.
Include:
- Curbs, parking stops and speed bumps
- Bollards, signposts and utility covers
- Irrigation components and drainage structures
- Raised planters and retaining walls
- Low branches or overhead obstructions
Agree on where visible markers are needed and who will install and maintain them. Photograph existing damage so there is a clear record of conditions before winter.
Review equipment access around gates, tight corners and loading bays. If parked vehicles or movable planters obstruct the route, resolve that before service starts.
Check Lighting, Supplies and Communication
Visit during low light to assess whether entrances, stairs and pedestrian crossings are adequately visible. Report failed lamps and areas where shadows make changes in surface level difficult to see.
Check that maintenance staff can reach winter supplies and tools. Keep storage organised, and select ice-control products suited to the surfaces involved, following product directions.
Create a short contact list covering the property manager, maintenance lead and contractor. Establish one reporting method so concerns reach someone who can act on them.
For each issue, record the location, time observed and action taken. Clear records make follow-up easier and help identify repeat problems.
Turn the Walk Into a Working Winter Plan
Finish with a dated checklist, marked site map and photographs. Assign every repair or follow-up item to a named person, with a realistic deadline.
Before closing the checklist, verify that priority repairs are complete and everyone has the same service plan. Review it again after the first significant winter event. Actual conditions may reveal a missed route, an awkward storage area or a communication gap.
The best next step is to book the walk while the ground is still visible. A focused inspection now gives your team time to fix problems and enter winter with clear responsibilities.
